So what is ArmaForm? Well, let’s start with how I discovered it. I remmember the day that I first stepped foot on my Seamaster 950 Flybridge motorboat. I had knowingly bought the boat as a project, but I hadn’t yet had the chance to see the true extent of the work that needed completing. Little did I realise the scale of the mammoth shit storm that was heading in my direction. The boat had been on hard standing in the yard for many years. This meant it had taken a supreme battering of, UV, rain, wind, and insects. I walked outside into the cockpit area and took a look down at the floor. I placed my foot over the hatch and pressed down- my foot came out the other side!
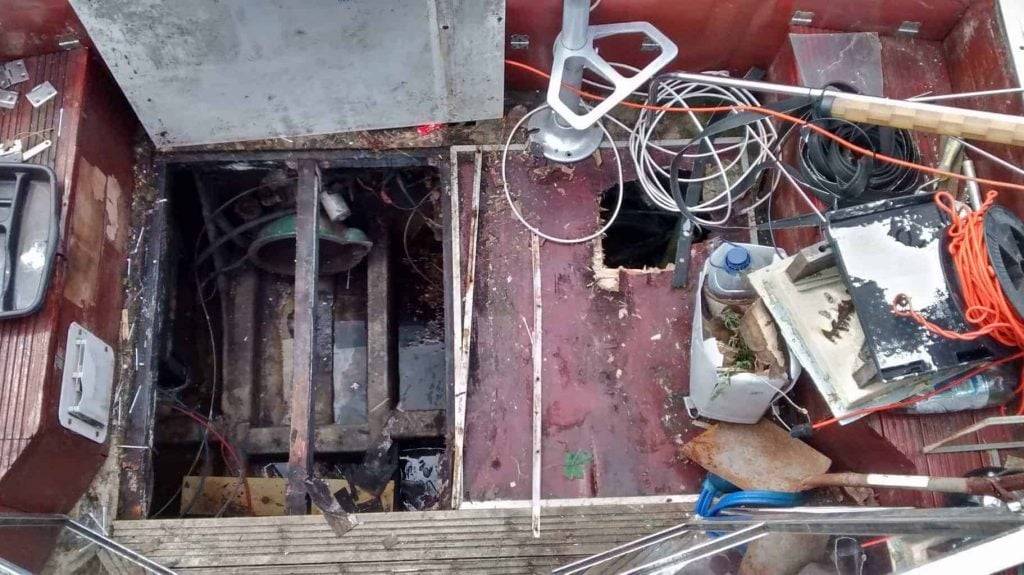
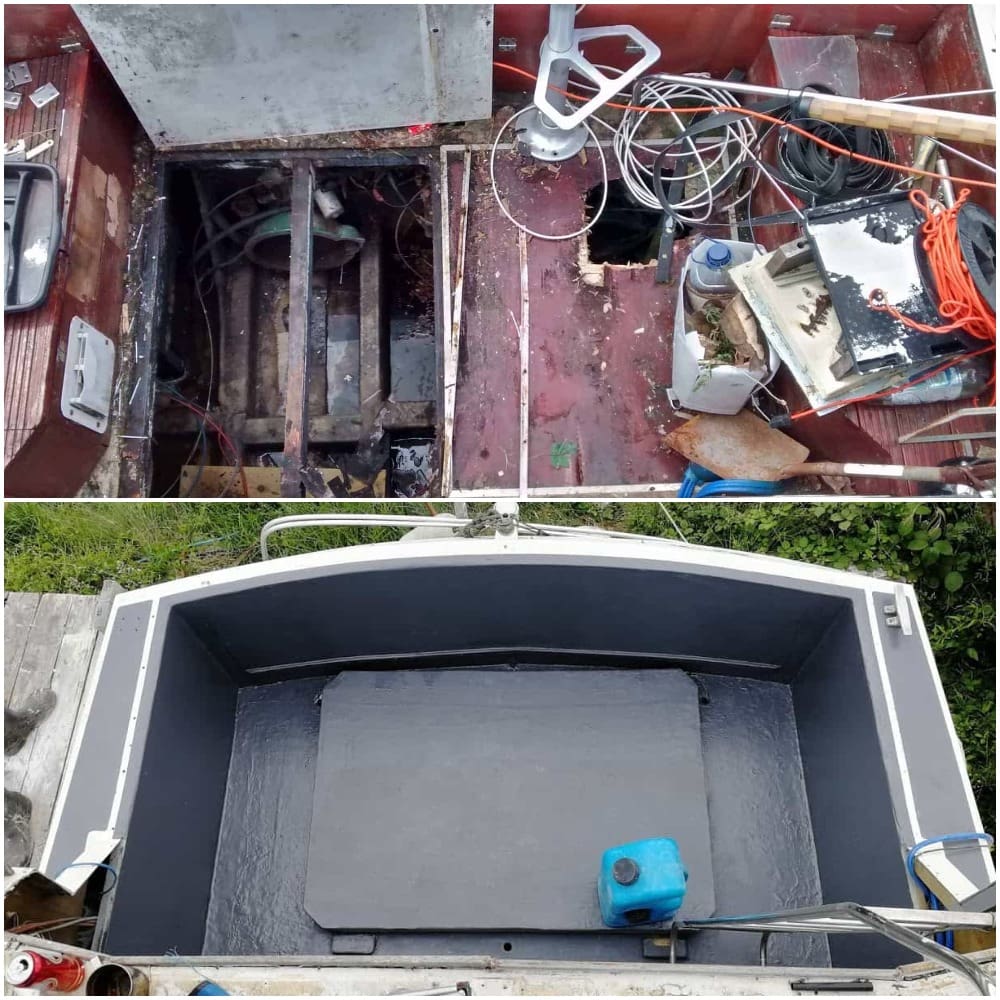
Digging further I realised that it was not only the hatch that was rotten but the entirety of my cockpit. The deck, the hatches, the beams, the bulkhead It was all soggy paper mache. Even though the boat was fibreglass the manufacturer had built the cockpit area from plywood, in the hope that the owner would maintain a cockpit canopy. The slight catch, there was no cockpit canopy! It was now a bug-filled pool of rotten wood and dry rot. Bugs from all over the lands had moved in and ate until there hearts content.
I thought to myself “I need to replace this, all of this” so maintaining a naive positive attitude and holding a dreamlike grasp of an affordable floating home I went about researching materials that would never rot. If I was going to replace the majority of my boat with a material, I never want to be doing this job again. Do a job once and right as they so often say.
Table of Contents
A Brief Research Of Materials
My research began with forums and facebook groups looking at some of the common materials available on the market for boat building. From there I could make a decision on what would be right for my project. The main character I was looking for was a sheet material that wouldn’t rot and would be easy to work with. With every problem comes an array of questions that will often help you find the answer. Here are some of the materials I found and the questions that came to mind.
King Starboard – the original marine grade polymer sheet
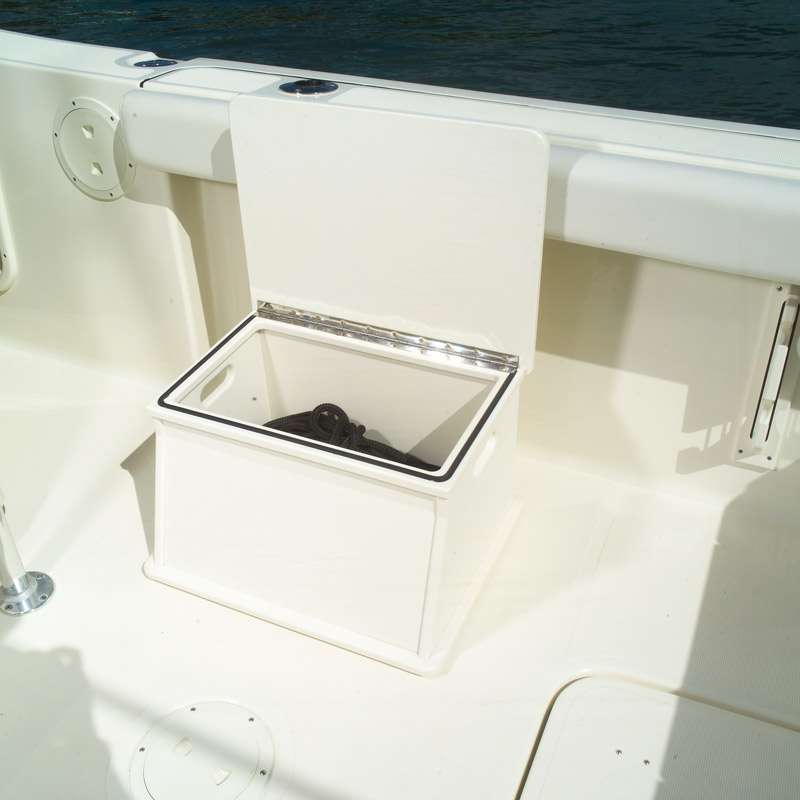
- How likely is it that I would be able to build my boat from this plastic sheeting?
- Is it affordable? How much per sheet and for the area I need to cover?
- could I join it, cut it with my tools? plunge saw, jigsaw etc?
- Would it form part of the boat or it simply only be panels?
- Would it be watertight? Could water get around it if exposed?
Honey Comb Fibreglass Panels
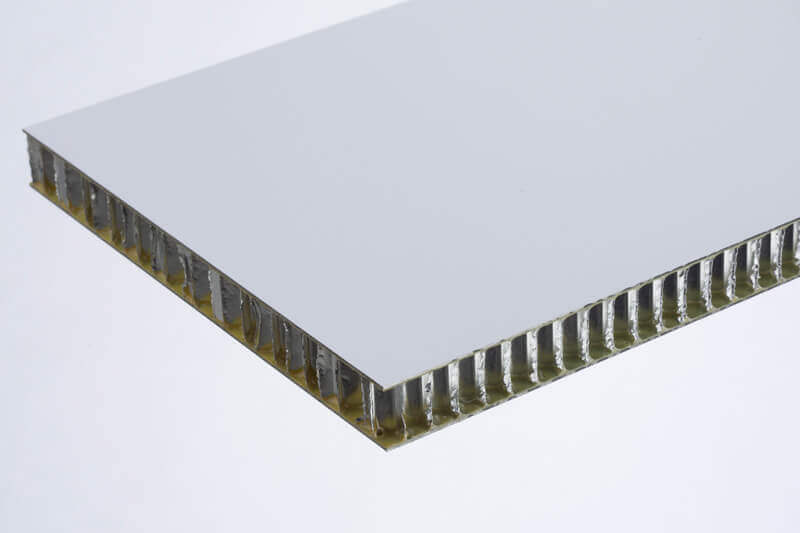
- Is it available locally?
- If I bought some is there a minimum order, is that affordable?
- Is it a workable material?
- Could, water fill the voids of the honeycomb inner core.?
- Is it UV resistant?
- Does it provide any buoyancy
2mm Fibreglass Flat Sheets- East Coast Fibreglass
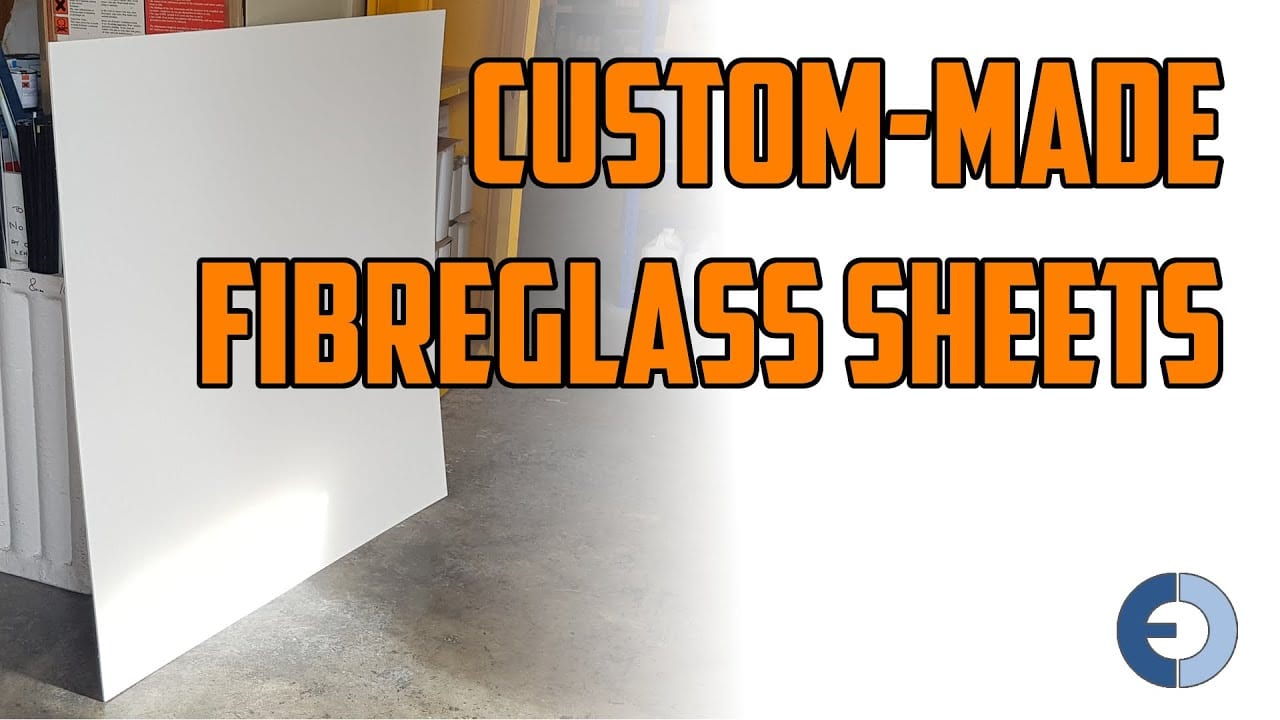
- Is it strong enough for the area intended?
- Is it flexible and can it take an impact without shattering?
- Is it available in the colour I want?
- Will I need to topcoat it?
- How easily is it to hide joins?
- Is the strength in the joins?
Why I choose ArmaForm Core
With all of these questions in mind, we can move onto why I chose Armaform. My motto has always been affordable boat renovation is key. I simply don’t have the expendable income to splash out on thousands of pounds worth of building materials. Neither do I have the facilities to cater for them. To me, It’s all about back yard boat building. Doing things to the best of your abilities getting the job done and doing it as affordably as possible. Boat renovation shouldn’t be reserved for the rich, it should be dominated by the thrifty.
I was a few weeks into my project and I had started ripping out the internal organs of my cockpit and replacing all of the support beams with treated wood. I needed some epoxy primer to coat my beams prior to beginning replacing the floor so I went to my local roofing supplies merchants. Whilst visiting their warehouse to collect the primer I noticed on the shelves some large green sheeting. I curiously asked what the sheeting was used for. The assistant told me it was used in composite roof building. He then proceeded to take me back into the office and show me an array of samples, sizes and finishes what were possible. I’ll be honest I fell in love. The finish on their samples was great and whilst It probably wasn’t highly achievable with my job it was something I could aim for.
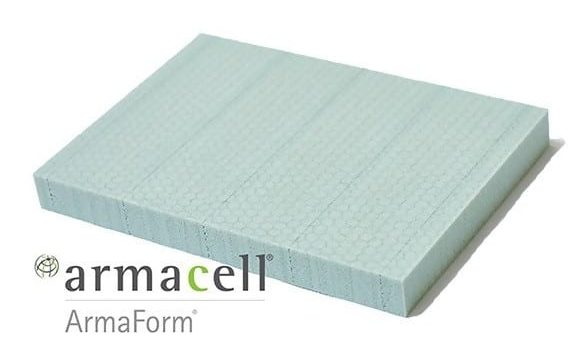
So eureka! Armaform was the material I had been searching for. It was a core material meaning it would still need to be laminated but It was affordable and most importantly workable. Using Armaform as a core material would mean I could choose the strength of the substrate by adding more layers of fibreglass when I came to the laminating process. Another selling point was the fact I could cut the material easily using any saw, or knife. Notably, it’s also made from recycled plastics meaning I’m at least attempting to do my bit for the environment. This was the material I had been searching for. It was available locally and it was right on my doorstep the entire time.
The Positives And Negatives Of ArmaForm
Pros Of Using Armaform In Boat Building
- Easily workable with hand tools.
- Available in large sheets.
- Affordable.
- Recyclability – ArmaForm Core is 100% recyclable after its use phase. Furthermore, it is already 100% made of post-consumer PET and is still recyclable afterwards.
- Low thermal conductivity – It can provide some insulation and is particularly useful in walls and floors where extra insulation is required.
- Can be made to be as strong as required during laminating.
- Available in a multitude of sizes.
- Can be laminated with polyester and epoxy resins
- Replaces the need for plywood which is highly sustainable to rot in the marine environment. If you’ve not seen the effects of plywood delimitation feel free to check our article here.
You can download Armacells full datasheet here-
Cons Of Using Armaform
- ArmaForm is a core material aimed at being a substitute for
Balsa, SAN or PVC in sandwich construction. This means it still needs to be laminated and does require a fairly large amount of resin depending on the size of the area. Both sides of the Armaform will need to be laminated to provide tensile strength. - Time-consuming making individual panels.
Working With ArmaForm
I’m no expert when it comes to composite boat building but I’ve always just done my research and gotten sucked in. It’s been an expensive way to learn and granted yes, it would of been better to learn on someone else payroll but unfortunately, those opportunities aren’t available locally.
Fibreglass work is messy, so when you have to cut, screw in, and join multiple boards you’re most likely going to find it bloody damn hard. I did, but I knew the end result would be a cockpit area that I could sit, relax and entertain in. That’s right, just imagine a bikini-clad group of ladies in your boat and you’ll soon find the energy to finish it. If your not a chauvinistic brute then just imagine respectably sitting with a lady whilst playing scrabble, a fine-wine, and cheeseboard.
So, where was I? You’ll want to wear good PPE through the entire project, we are talking a full fitted face mask, overalls closed goggles, and a few hundred disposable gloves. Every panel will need to be laminated on both sides. The number of layers of fibreglass used will dictate the overall strength of the area. The more layers the stronger the end product will be. Simply put, cut corners and you’ll fall through them!
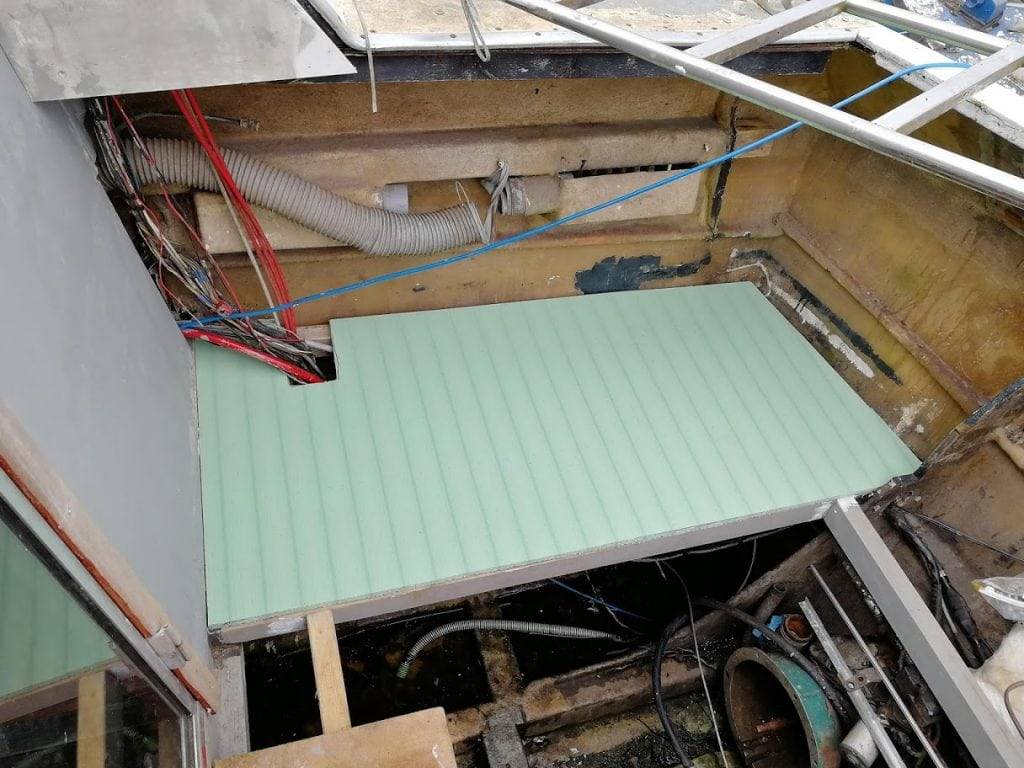
Joining up panels is never going to be pretty. If you want a floor that is smooth and looks like one piece you’re going to have to work for it. The angle grinder is your best friend. First, you have to cut your panels to size then you laminate the panels individually and off the boat (not in situ) remember you have to laminate both sides of the core material for strength.
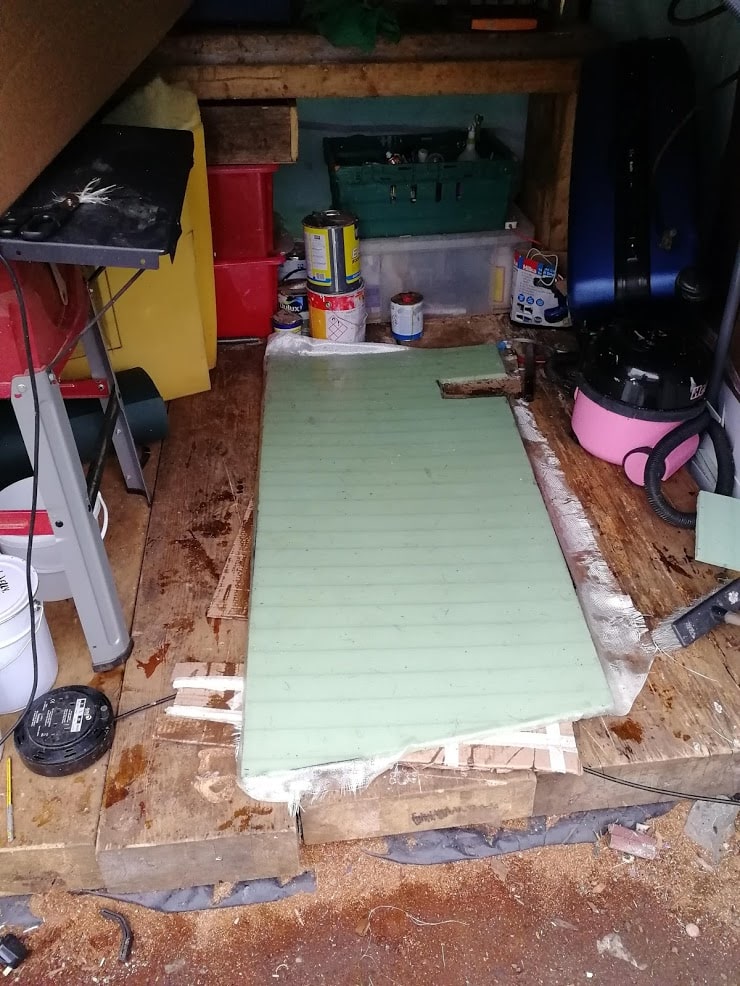
Fibreglassing these panels is a bit of an art form. I use polyester resin, as it’s cheap, and it’s what that rest of the boat is made from. My boat is approaching 40 years old, if that’s not a testament to polyester resin then I don’t know what is. Don’t use epoxy resin when you’re making large panels you could easily use a 25kg bucket of polyester resin on a few panels and if you’re buying epoxy you will bankrupt yourself before your project has begun. Buy polyester roofing resin, nothing fancy. Don’t kid yourself, it’s all the same. Believe me and take my well-researched word for it.
Use a low nap foam roller to spread that resin out fast, Mohair rollers are essential. Foam rollers will most likely melt due to the solvents used in resin. You’ll want to do a thin coat, let that tack off for a short period of time, another layer of resin, and finally, begin laminating. Woven matting is the best for this work, chop strand is a nightmare to work with and is best left for patchwork and laminating edges.
I would tell you to use a consolidator, but I never did myself and have never had any problems. The roller seemed to push the air out from the panel and to be honest most of the time left a fairly good finish. The edge of the panel will be rough fibreglass, you will need to use a plunge saw to cut the excess material. If the excess material you cut doesn’t have resin impregnated into it then it may wrap itself around your plunge saw, so be aware of this danger.
You’ll most likely only ever achieve a “fishing boat” standard when creating your own panels, mainly because they have to be joined in places, screwed in, filled etc. It’s a lot of work to fair an entire cockpit. Without having the facilities you can only really do your best. The more your sand back prep and fair the better your results will be, but you’ll soon grow tired.
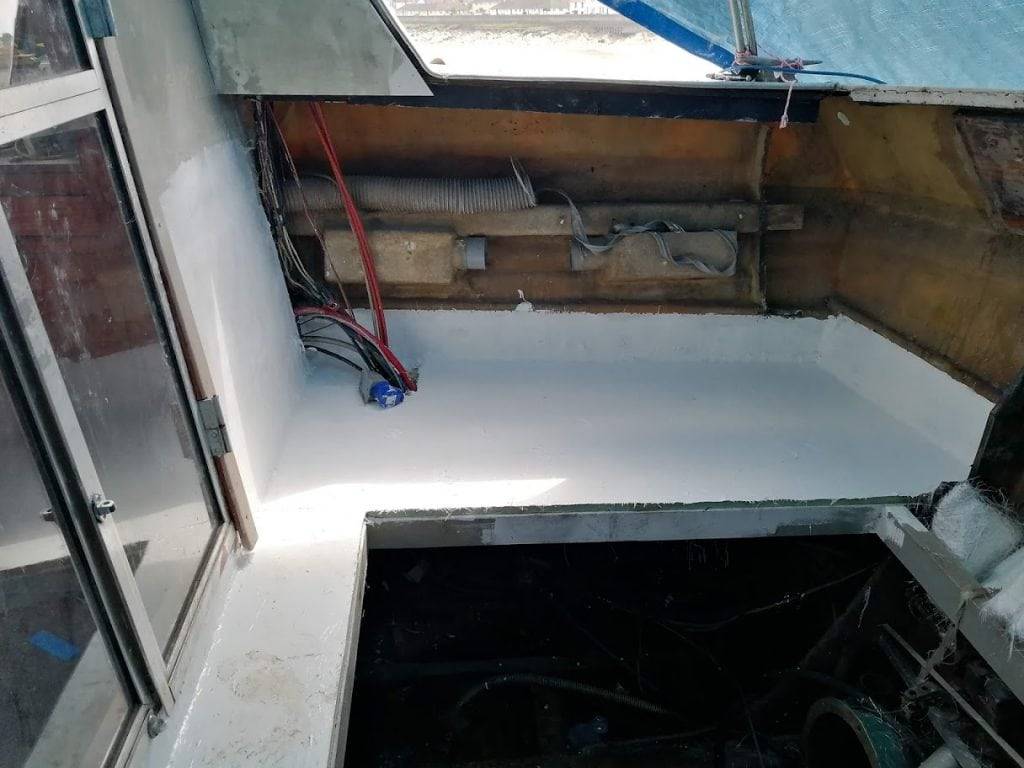
The pieces should start to come together after you get your first few panels in. You’ll want to topcoat the entire area with a roofing topcoat, or flowcoat. They have lots of styrene in and give you a waxy finish that protects the topcoat. The wax added to flowcoat and topcoat also helps the resin set, isolating it from the air. If you used, for example, Gelcoat to finish, the area may remain tacky. For this reason, it should only be done at the end of the project as the finish. If you’re adding a layer of topcoat at a later date make sure you key and clean the surface for best results.
The Cockpit Now
So it’s safe to say that I am fairly confident with using ArmaForm for replacing floors and walls in a boat. I really don’t see why people in this day and age would continue to use marine plywood after we have so often seen modern plywood fail in the marine environment. For me, it’s simply not worth the risk.
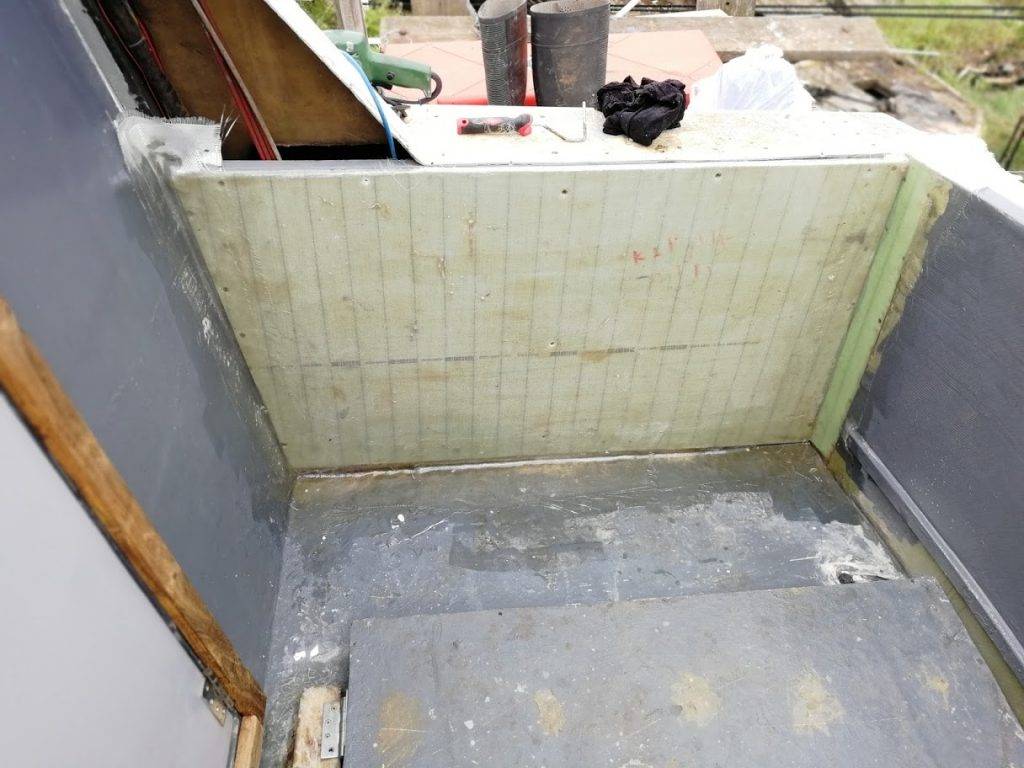
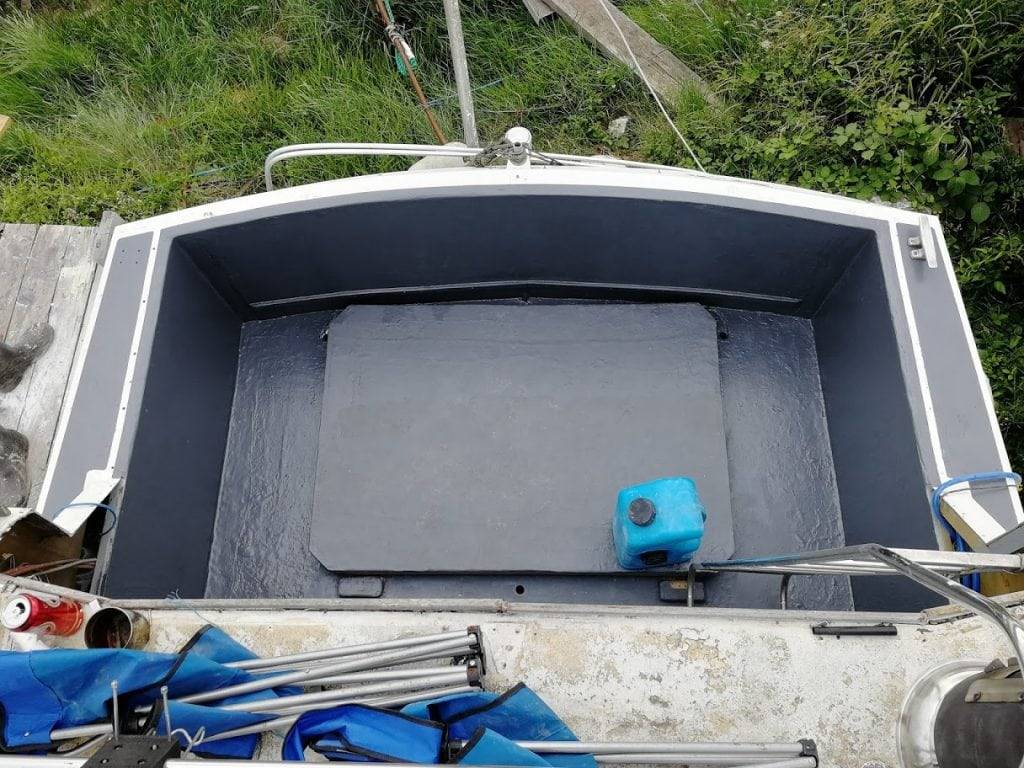
Like most things I do, It’s not completed. It needs lockers, more fairing, and top coating for a smoother finish on the deck. That said, for the time being, I’ve got a usable space. It’s strong enough I can jump on it. It’s seaworthy and rot-proof. I’ll never need re-do it in my lifetime. I would consider cladding with faux teak in the future to achieve a nicer finish but for now, she’s ready for the engines!
Thanks for reading, if you have anything you want to contribute to this article please contact [email protected].

This is interesting, I’m wondering if it can be used under compression points on a sailboat like the mast? Otherwise I don’t see it being a bad alternative, what was the ball park price point? I bought balsa for my recoring project.
From matrix composites locally to me I was quoted 4.94 K-PET100-15 Armacell PET Foam 100Kg/m3 – 15mm per m2 – £13.47 As you’ll know the price is then decided on how you go about laminating it. If you can get hold of some cheap fibreglass woven matting and polyester resin then it can workout fairly affordable. In terms of the pressure points you’d need to take a look at the datasheet i’ve attached to the article – it goes into the fine details.