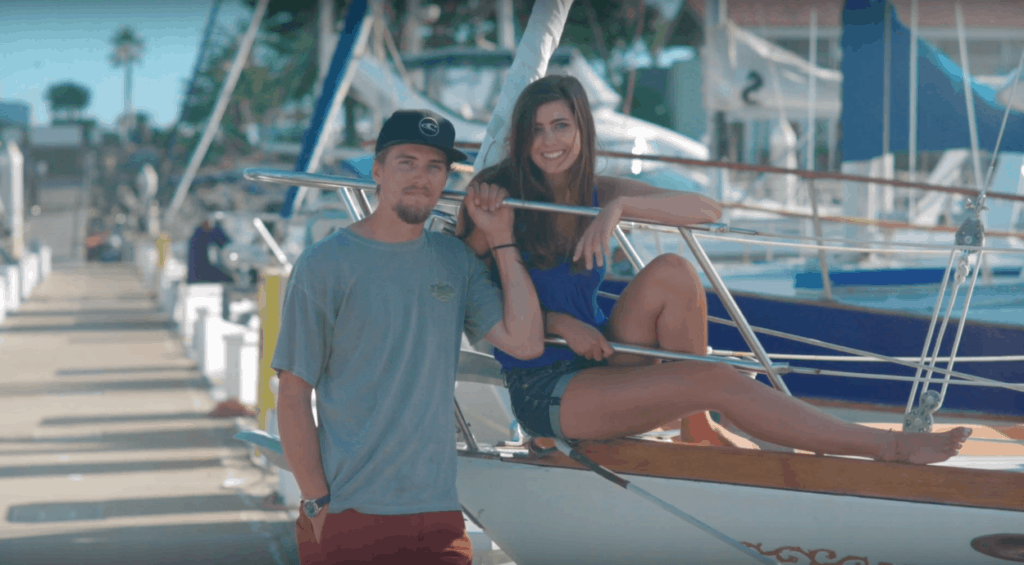
Hello there readers! My name is Marissa and I have successfully commandeered Boat Renovation People to write about the trials and triumphs during our first year living aboard our 1979 Cheoy Lee 41 SV Avocet. I say “we” as I am just the humble first mate, admiral, and galley wench who has the honour of sharing this floating home with my husband Chris; who is the captain and self-proclaimed shipwright. We also share our living space with our deck paw, Cleo the boat cat.
Long story short, we had decided on boat life long before we even started researching boats from our one bedroom apartment in North Lake Tahoe. Chris was born into a sailing family as his mom has a Mason 43 in the San Francisco Bay while his brother, Jon, is the captain of SV Prism and has 12,000+ nautical miles under his keel. Chris and I created a small list of “must-haves” when it came to choosing a boat, which was great because we have standards, but awful because well, we have standards and being a young newly wed, newly graduated college couple it made hard to find the perfect boat. We came across Avocet by chance and she checked every one of our boxes except one, but we will get to that later. After pulling our money and getting a loan we pulled the trigger and became the 3rd owners of SV Avocet!
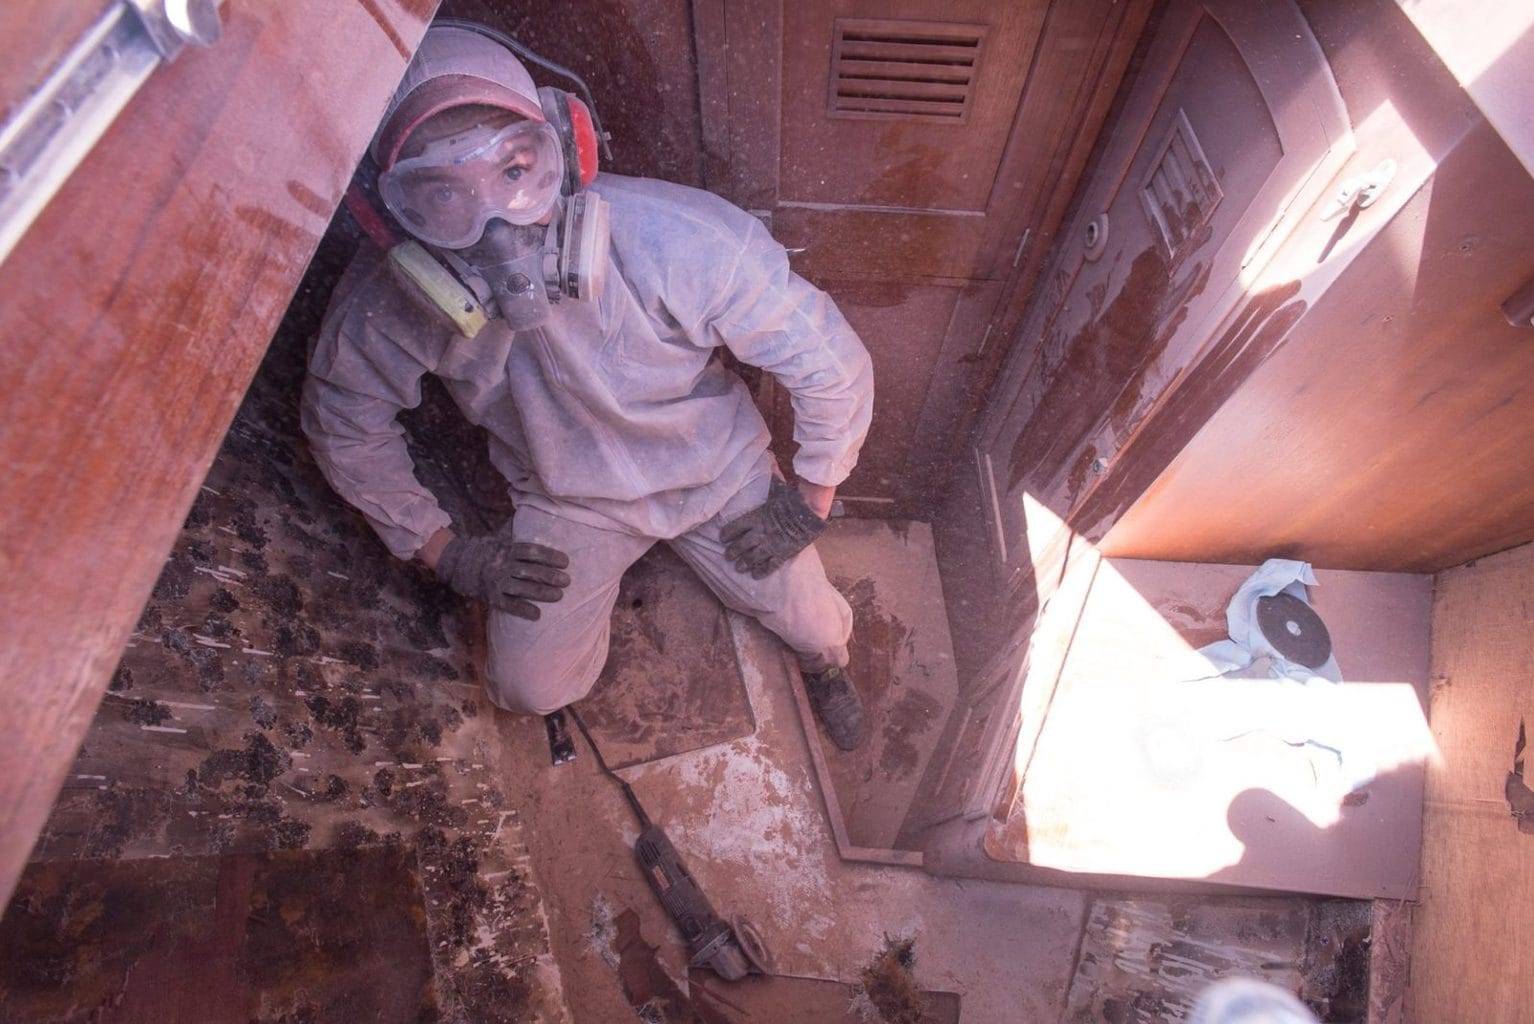
So when we first bought Avocet, the first thing that needed to be done was a deep clean. The previous owner neglected the task of tidying for what seemed to be years so there was a lot of mold, dust and other unspeakables. Underneath our oven, there were maggots munching on food that had been left for months, maybe even years. So after putting on our rubber gloves and hazmat suits (just kidding, I wish we had hazmat suits) we got Avocet spic, span and gosh darn near livable.
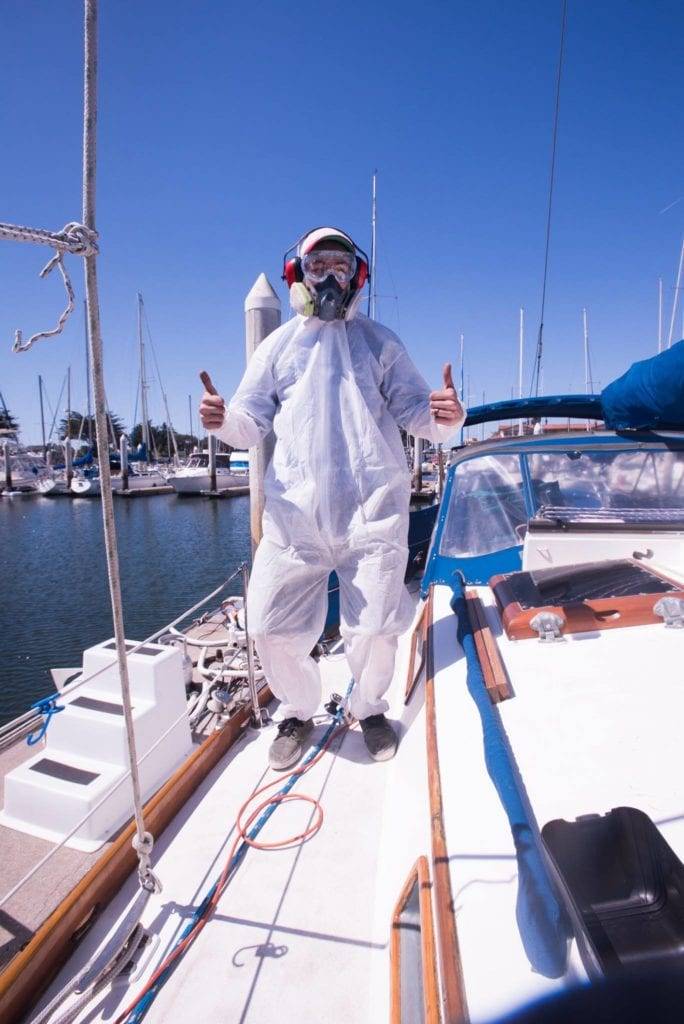
Table of Contents
GETTIN’ STUCK IN WITH REPAIRS
After the deep clean we had to find where the leaks that led to mold were coming from. We fond that our biggest leak was from our teak toe rail, it is affixed to the deck-to-hull joint using bronze through bolts every 15 inches that over time had created large leaks. We put a bead of TDS on both sides creating a temporary fix since our toe rail is strictly cosmetic (it does not fasten the deck-to-hull joint) and there is no core in that area of the deck so we are not worried about core damage.
Eventually, our plan is to remove the toe rail, replacing it with a bulwark design fastening. This will be fixed to the lifelines giving us zero holes where our toe rail was and fewer leaks! Our second largest leak came from our hatches. A lot of people told us to replace our teak hatches with new aluminum ones but not only are those expensive, our hatches are beautiful and just needed to be stripped down, oiled, with new plexiglass installed and gaskets; now we have no leaks!
We got to work on a couple of smaller projects, stripping, sanding and painting all lazarets and lockers so our food and clothes wouldn’t be susceptible to mold and mildew. After that, we completely redid our fresh water plumbing by adding new filters and hoses so our water would be squeaky clean! Once the make-the-boat-livable projects were out of the way, we turned our attention to some of the bigger projects. These were the one that needed completing before we could finally set sail.
Our chain plates needed to be replaced since it was cracking at the deck (scary); the stainless stem piece was fastened with bronze bolts so due to dissimilar metal corrosion, only 3 bolts out of 8 were still holding the front of the mast up. It was so bad that Chris had to do some fibreglass work in order to fully replace it!

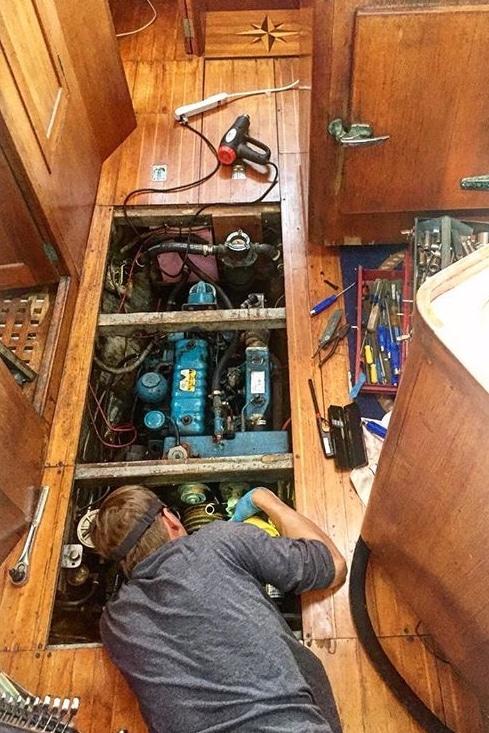
Next on the chopping block was our engine a TAD Perkins 4.108. It was extremely dirty, and the fuel system (not the tank) had to be replaced as well. While we were in there (a common line used while doing boat projects) we installed a polishing feature so we could polish our tank with the flip of a switch! I also went into the cooling system on our 4.108 and replaced all the hoses, cleaned the heat exchanger and fitted a new impeller. At this point, our engine was pretty solid and was running well. We could finally sail!
SETTING SAIL FOR THE FIRST TIME
Hoisting the main after 4 months of strictly boat projects was one of the most freeing, invigorating, and exciting moments of our lives. We sailed out towards Santa Cruz Island, only turning back after rounding the furthest oil rig. “We could just keep going you know” a very confident captain Chris said. I thought about it, and that’s when we decided to talk about our “big plan”. After talking with friends and family, we came to the conclusion that we wanted to sail in the Transpac (leisurely of course) then from Hawaii to Alaska and down the coast. The Alaskan landscape is just so beautiful and imagining our boat there surrounded by trees, mountains and ice gets us motivated to make it happen sooner rather than later. So now you know our master plan: sail around the world but before we can begin that journey there is still much more work to be done because let’s be honest it’s a boat, the projects will never fully end.

FIXING UP THE BERTHS
Besides the vital projects, we also did a few major cosmetic refits starting with our V-berth. Just like the rest of the boat, we had big problems with mold and rot, so with the help of my brother Jon, we tore everything out. Tackling the mold first we fitted a dedicated drain for our chain locker (this was causing the main problems).
We came up with a new concept for our berth as the old design was limiting. Jon installed new panels using red cedar which is mold resistant and smells fantastic and we also raised the bed to a more comfortable size while creating more storage underneath which is where Cleo’s litter box and food lives in addition to various other things. This was truly a big accomplishment to check off our list and we are so happy with the way it turned out!

A few months go by where we do small projects here and there while also getting our much needed fair share of sailing out to the Islands, Santa Barbara, and just around Ventura but when our fun summer of sailing finally ended in SoCal. We decided to pick the tools back up and jump into home improvement mode againOur last visitors, Jon and Shannon, stayed aboard and slept awkwardly in the quarter berth so we decided that our next project would be making the quarter berth bed more comfortable. The existing bunk system really didn’t work well for couples so Chris and I (okay, mostly Chris) spent a lot of time constructing our final masterpiece. Long story short, it went from an unsightly awkward double bunk to a comfortable queen, that has a dedicated nav station seat- something we did not have before. Chris wanted to make it look like it came with the boat, so we repurposed the old teak trim and also invested in some small teal pieces to make a backrest for the nav station. The best part is that when you want it to be a full bed you just pull the back rest pieces up and raise the cushion to form a full bed! So ingenious; I’m honestly still impressed. You can watch the whole process here: https://youtu.be/XnMfCqcQEDs

REFITTING THE HEAD
Our current project (and likely our last major one before our one year boat anniversary) is refitting our head. We always wanted a dedicated shower stall and it is the one thing Avocet does not have! Unfortunately, after a few attempts, we realize that a dedicated shower stall was not in our future. However, Chris being the handyman he is, completely redesigned the layout of our head making it much more usable as a wet head. So far we have moved the toilet and shrunk the sink and counter so it all fits to one side making it simple to drape a shower curtain across keeping the area dry so we have less to wipe down after a shower. Besides the hand rails and trim, our new countertop is also teak so once I stripped and sanded everything I got to work laying down some fresh coats of varnish. As I write this we are on coat #5 and we are left with one more to go! We will also be repainting the walls with white rustoleum and tiling up to about knee level for a more textured look. This project will (hopefully) be done by the time this is published but until then you can watch it all live on our Instagram story (@svavocet)

As we reflect on all our hard work it is mind boggling that a year ago we downsized our belongings and gave up on our life on land to pursue a new adventure as young newly weds aboard a 41 ft. boat. Sounds romantic right? Truthfully, it has been a dream come true but with good there comes bad and that’s just life. It was an adjusting period for sure, almost like learning how to live with each other all over again because of the small space restrictions as well as giving up more privacy since lets be honest, there’s not much you can hide when you basically have a 41 ft open floor plan. Through it all we have learned to trust one another, communicate better, and when to take a break from a project to focus on each other and regroup. Because of this lifestyle I have learned so many valuable skills and look forward to the adventures that lie ahead. Until then we will continue our projects, sail, and of course document it all along the way.

I hope you enjoyed reading this little write up on our first year projects while living a board! I know I had a great time writing this out. If you want to connect with us check us out on Youtube, Facebook, Instagram and Pinterest by searching @SVAvocet ! We wish you all fair winds and the best of luck with your own boat projects! Cheers, ~ Marissa. www.svavocet.com
Love all of this. You were named “Marissa” for a reason, growing up on walking to the beach, surfing and weekends in the Sierra, well done my one and only Daughter & Son in Law, Sail on. – PS Good Job getting him on the water full time!
Thanks dad 😉
That’s really nice post. I appreciate your skills, Thanks for sharing.
That’s really nice post. I appreciate your skills, Thanks for sharing.
Glad you enjoyed! Be sure to check out our latest projects on our website